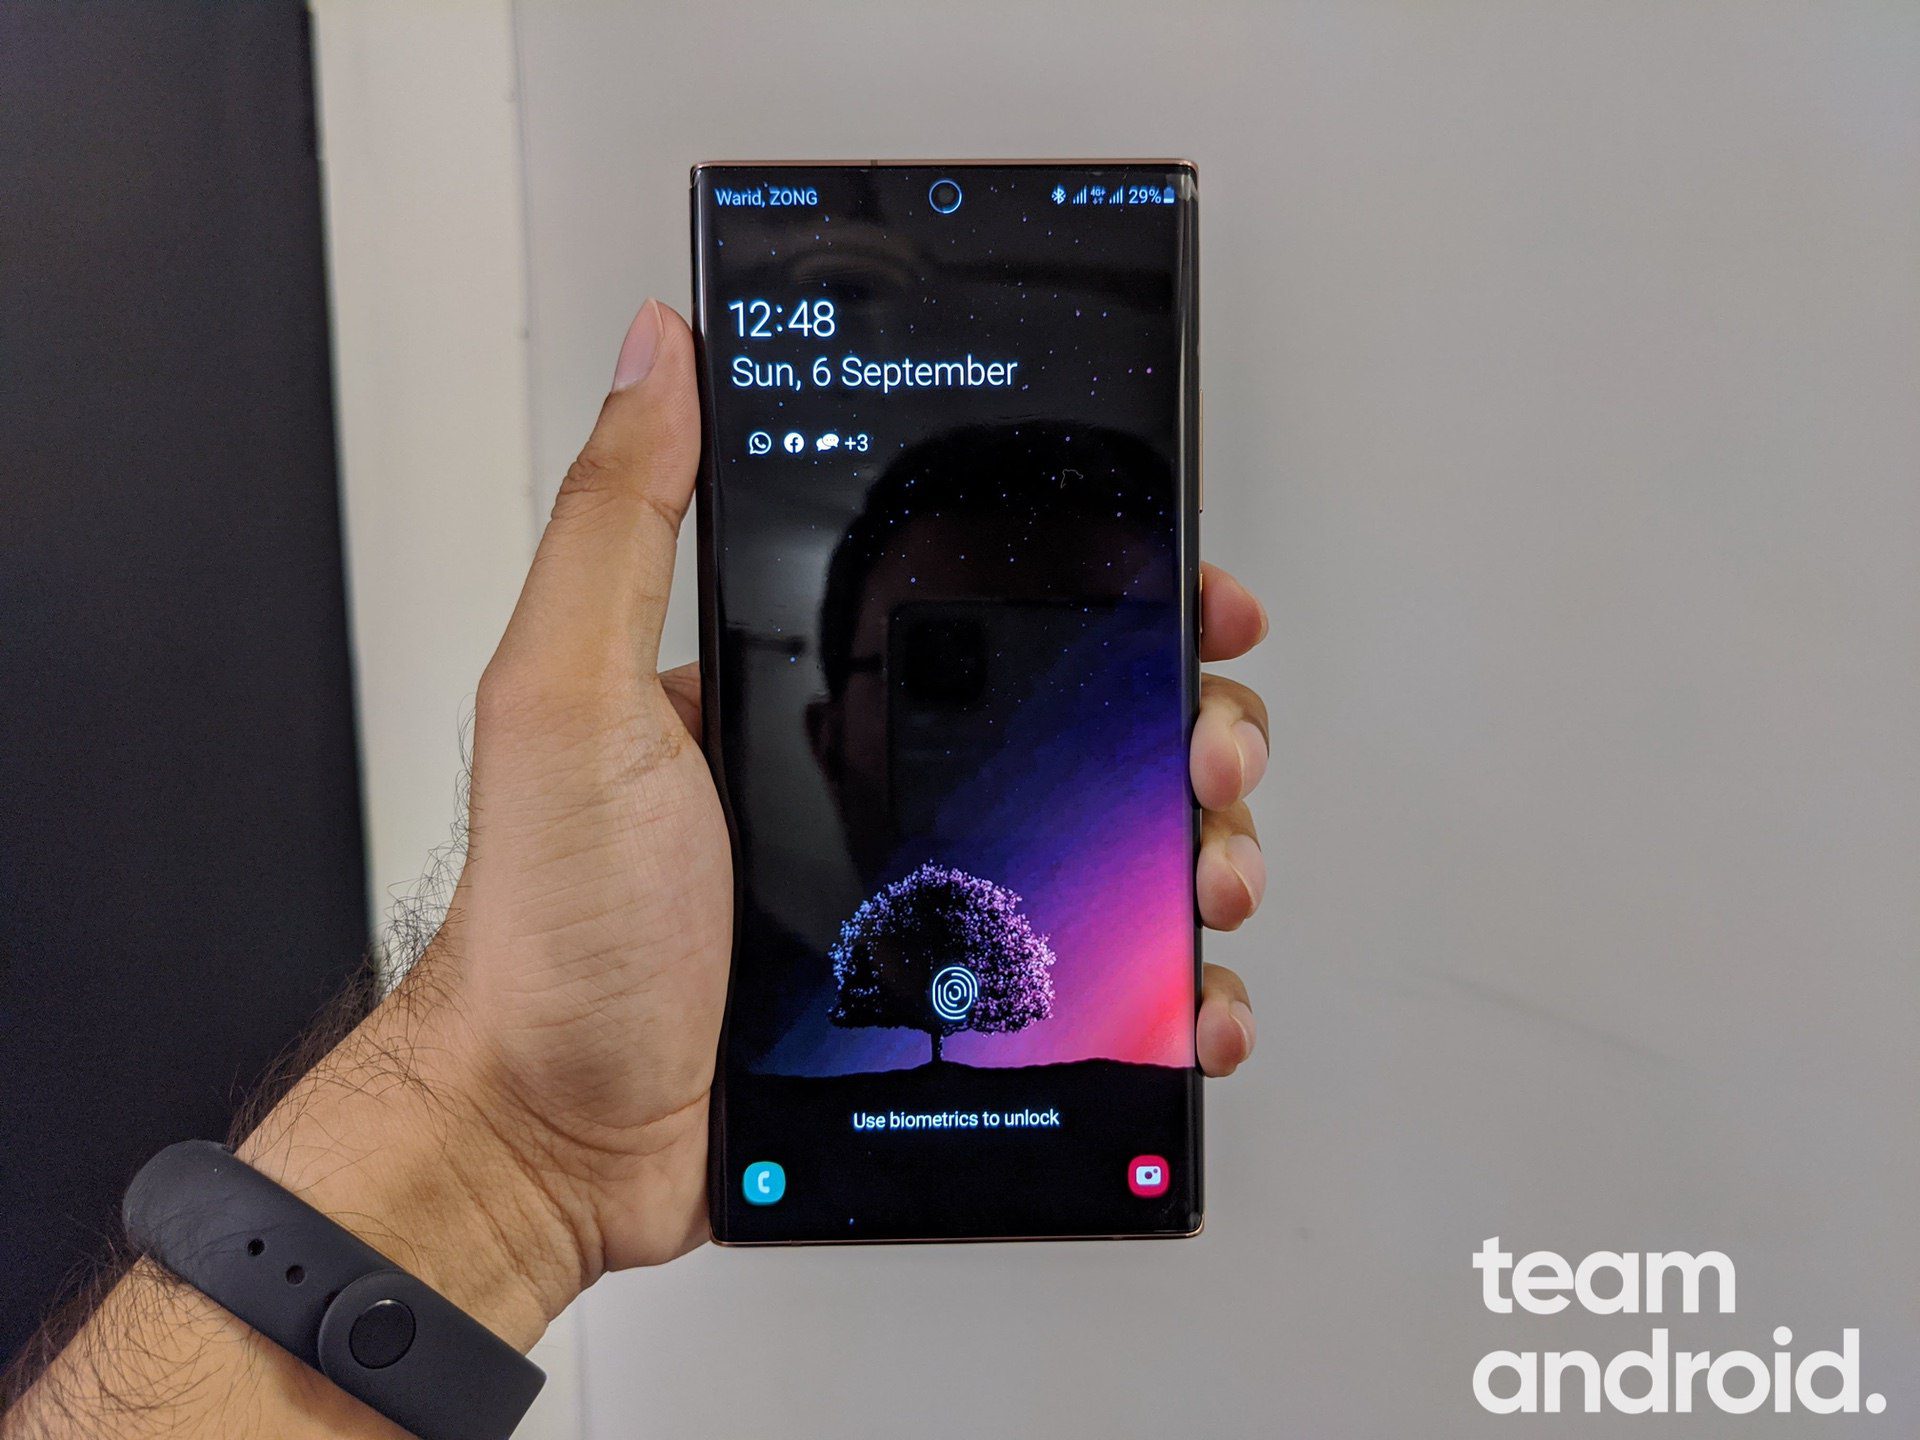
In this guide find exactly how to download and install Samsung Galaxy Note 20 drivers that work for both standard as well as Galaxy Note 20 Ultra models. Just like other phone manufacturers, Samsung uses its own proprietary set of hardware that requires correct USB drivers for proper functioning. These drivers play a vital part whenever you connect your phone to your PC; they help the computer to properly communicate with the device. Available for both Windows as well as macOS, download latest Samsung Galaxy Note 20 drivers from right ahead.
Most use cases involve only transferring data to and from Galaxy Note 20 but, there would be some users who would be looking to flash official firmware, custom system files and more via there computer. In any case, USB drivers for Galaxy Note 20 and Galaxy Note 20 Ultra are required. Further, once installed, these drivers will work for all older Samsung Galaxy phones leading up to Galaxy Note 20.
Samsung Galaxy Note 20 USB Drivers
Samsung ships its new Galaxy Note 20 and Note 20 Ultra phones with some of the best specs currently available on the market. The display as well as the design also add to Note20’s overall value. Now, in order to make best use of the display and enjoy all your favorite content, you would be looking to copy it over from your computer’s storage. To do that, proper USB drivers are essential.
Yes, if you connect your phone directly to your Windows computer, it would immediately show up as a standard USB device thanks to MTP drivers but for macOS, drivers are required before hand. Further, proper Windows drivers will ensure fastest data transfer speeds as compared to the standard MTP ones.

Download Galaxy Note 20 Drivers for Windows 10
Here you can download Galaxy Note 20 and Note 20 Ultra drivers for Windows 10, Windows 8 / 8.1 or Windows 7:
| Download | SAMSUNG_USB_Driver_for_Mobile_Phones.exe |
| Size | 18.63MB |
| Type | EXE |
| Host | SuperFiles |
NOTE: These drivers for Galaxy Note20 series are only designed to work on Windows PC. For Mac or Linux systems, there is a different method to connect your device that we have discussed ahead along with different Galaxy Note 20 drivers.
How to Connect Galaxy Note 20 to Windows PC
Use these below mentioned steps to properly install and configure Galaxy Note 20 drivers on your Windows computer:
- Step 1 – Download Galaxy Note 20 USB Drivers from the links above and install it on your computer. After installation, you will not see any new icons on desktop and programs list.
- Step 2 – Connect your Galaxy Note 20 to the PC with a USB-C cable.
- Step 3 – Now wait for the computer to recognize the device and install / setup necessary files and drivers.
- Step 4 – You will notice several files being installed. Once completed, open My Computer or This PC to find your phone.
- Step 5 – Double-click on your phone and now you are ready to browse through your Galaxy Note 20 on Windows PC.
Download Samsung Galaxy Note 20 USB Drivers for Mac
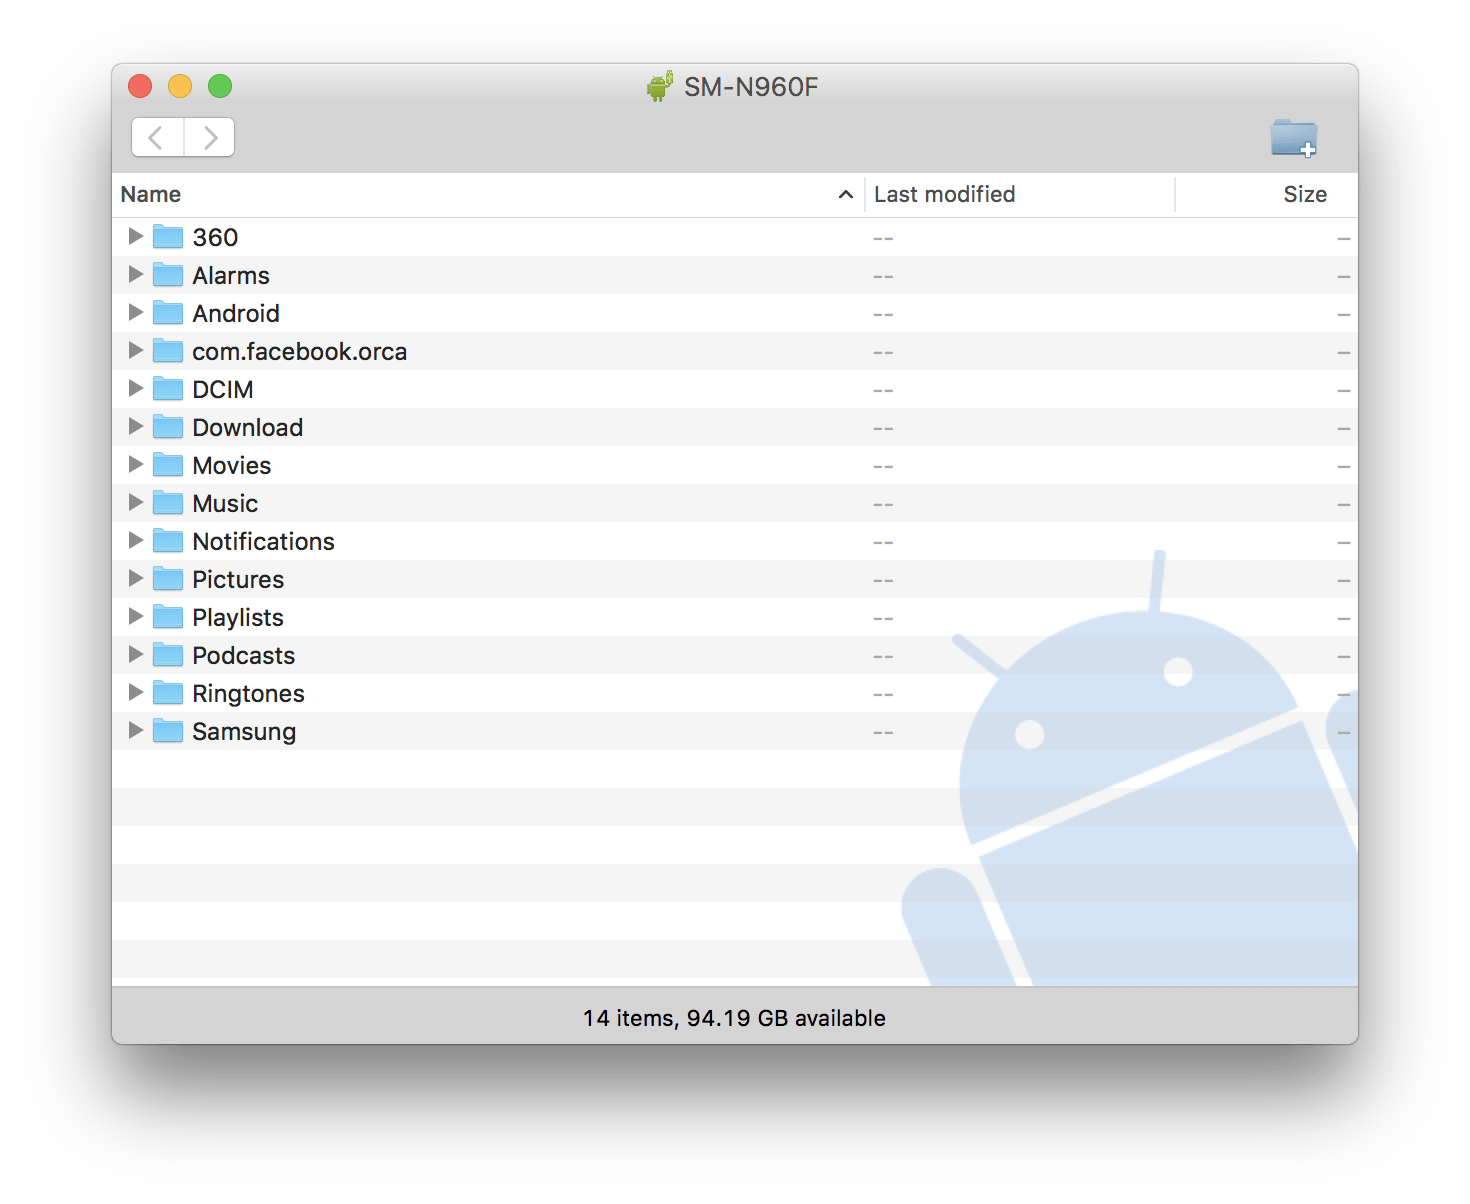
macOS requires a different procedure for installation of Galaxy Note 20 drivers. Straight from Google, there is a utility called Android File Transfer. This free utility is designed to work with all Android phones that connect to a Mac computer including the new Samsung Galaxy Note 20 and Galaxy Note 20 Ultra.
The latest Android File Transfer utility works with macOS High Sierra, macOS Mojave and macOS Catalina. Since, macOS Big Sur is in Beta stages, complete support for it will be determined once it reaches stable release. The utility itself supports drag-and-drop functionality along with Galaxy Note 20’s internal storage file browsing.
| Download: | AndroidFileTransfer.dmg |
| Version: | 1.0.12 |
| Size: | 3.54 MB |
| Type: | DMG |
| Host: | SuperFiles |
Read these tips to connect and use Galaxy Note 20 on your Mac omputer:
- Step 1 – Download Android File Transfer and install it on your Mac computer.
- Step 2 – Connect your Galaxy Note20 with the computer using a USB-C cable.
- Step 3 – Now wait for the computer to recognize the device. It may take a few seconds more if this is your first time connecting a new Android device.
- Step 4 – Tap ‘Allow‘ on your phone screen to allow the phone to communicate with the computer.
- Step 5 – Android File Transfer window will automatically open up with your internal phone memory directories.
NOTE: If Android File Transfer does not open automatically or fail to recognize your Galaxy Note 20 follow the steps ahead to enable “Transfer files” mode.
After completing the procedure, verify by copying over files to your Galaxy Note 20 / Note 20 Ultra.
RELATED: Looking to use ADB or Fastboot utilities on your Galaxy Note 20 / Note20 Ultra? You can download ADB and Fastboot tools here!
How to Enable Files Transfer on Samsung Galaxy Note 20
For security purposes, by default Galaxy Note 20 is not set to transfer files between itself and a computer after you connect it with a USB cable. This happens each time you connect. To activate, you can follow these steps to enable File Transfer mode:
- Step 1 – Connect your Galaxy Note 20 to a Windows PC / MacBook with a USB-C cable.
- Step 2 – Once connected, by default you will be on “Charge only” mode.
- Step 3 – To enable transfer files, go to Settings on your phone.
- Step 4 – Navigate to “System” -> “Bluetooth & device connection” -> “USB” -> choose “File Transfer”
- Step 5 – Select this option if you want to enable your phone storage for your computer.
This completes the installation and configuration of official Galaxy Note 20 USB drivers. Your computer, be it macOS or Windows, should now properly recognize the phone and allow utilities like Fastboot and ADB to work seamlessly.
If you ran into issues with downloads or steps, do let us know in the comments!

