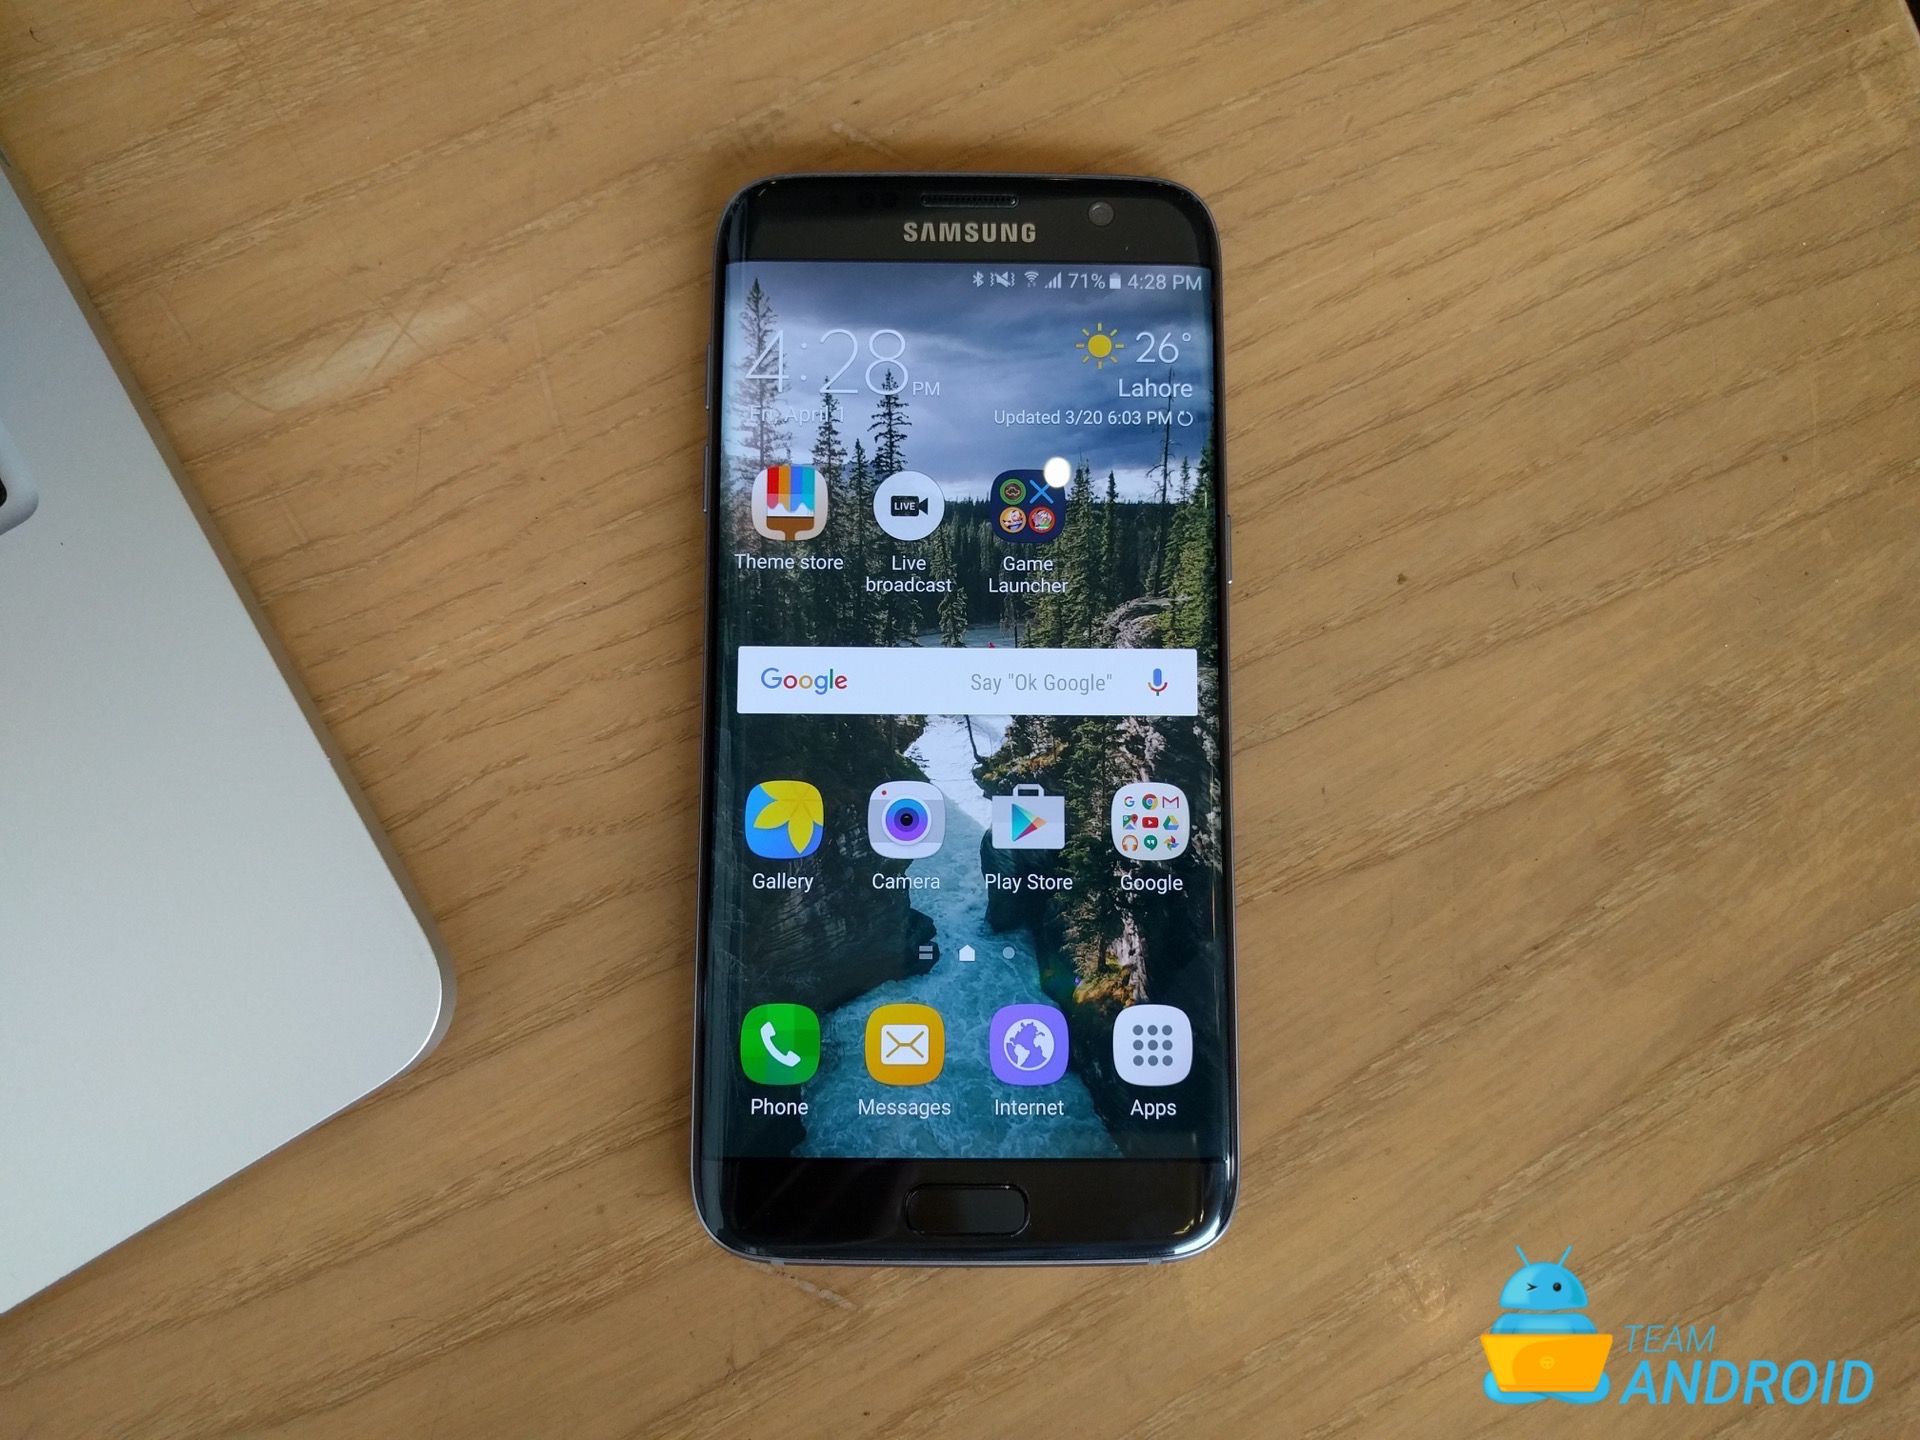
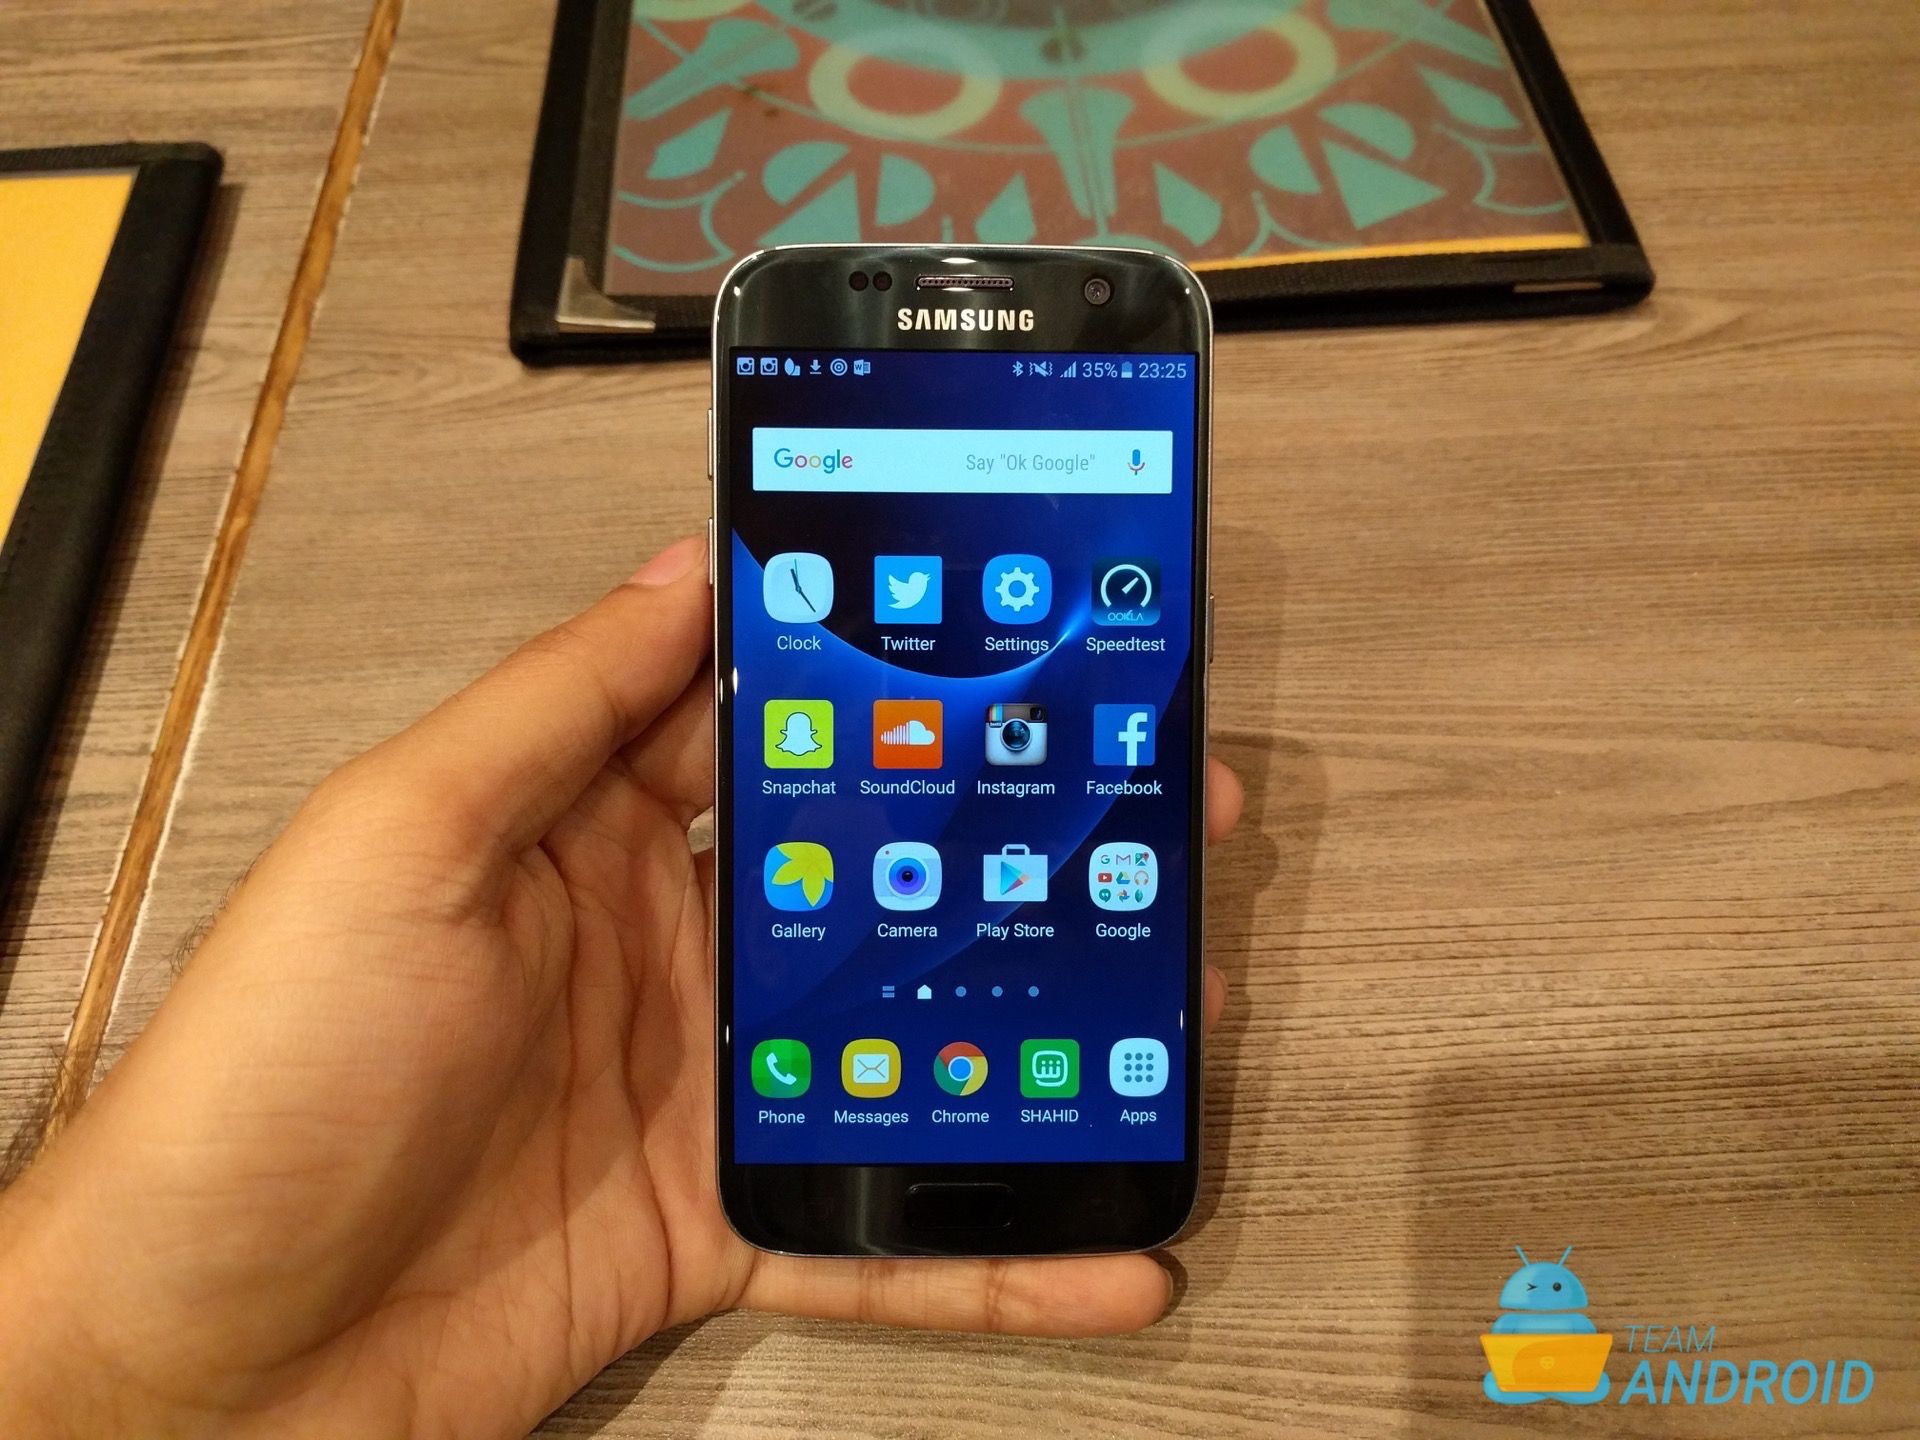
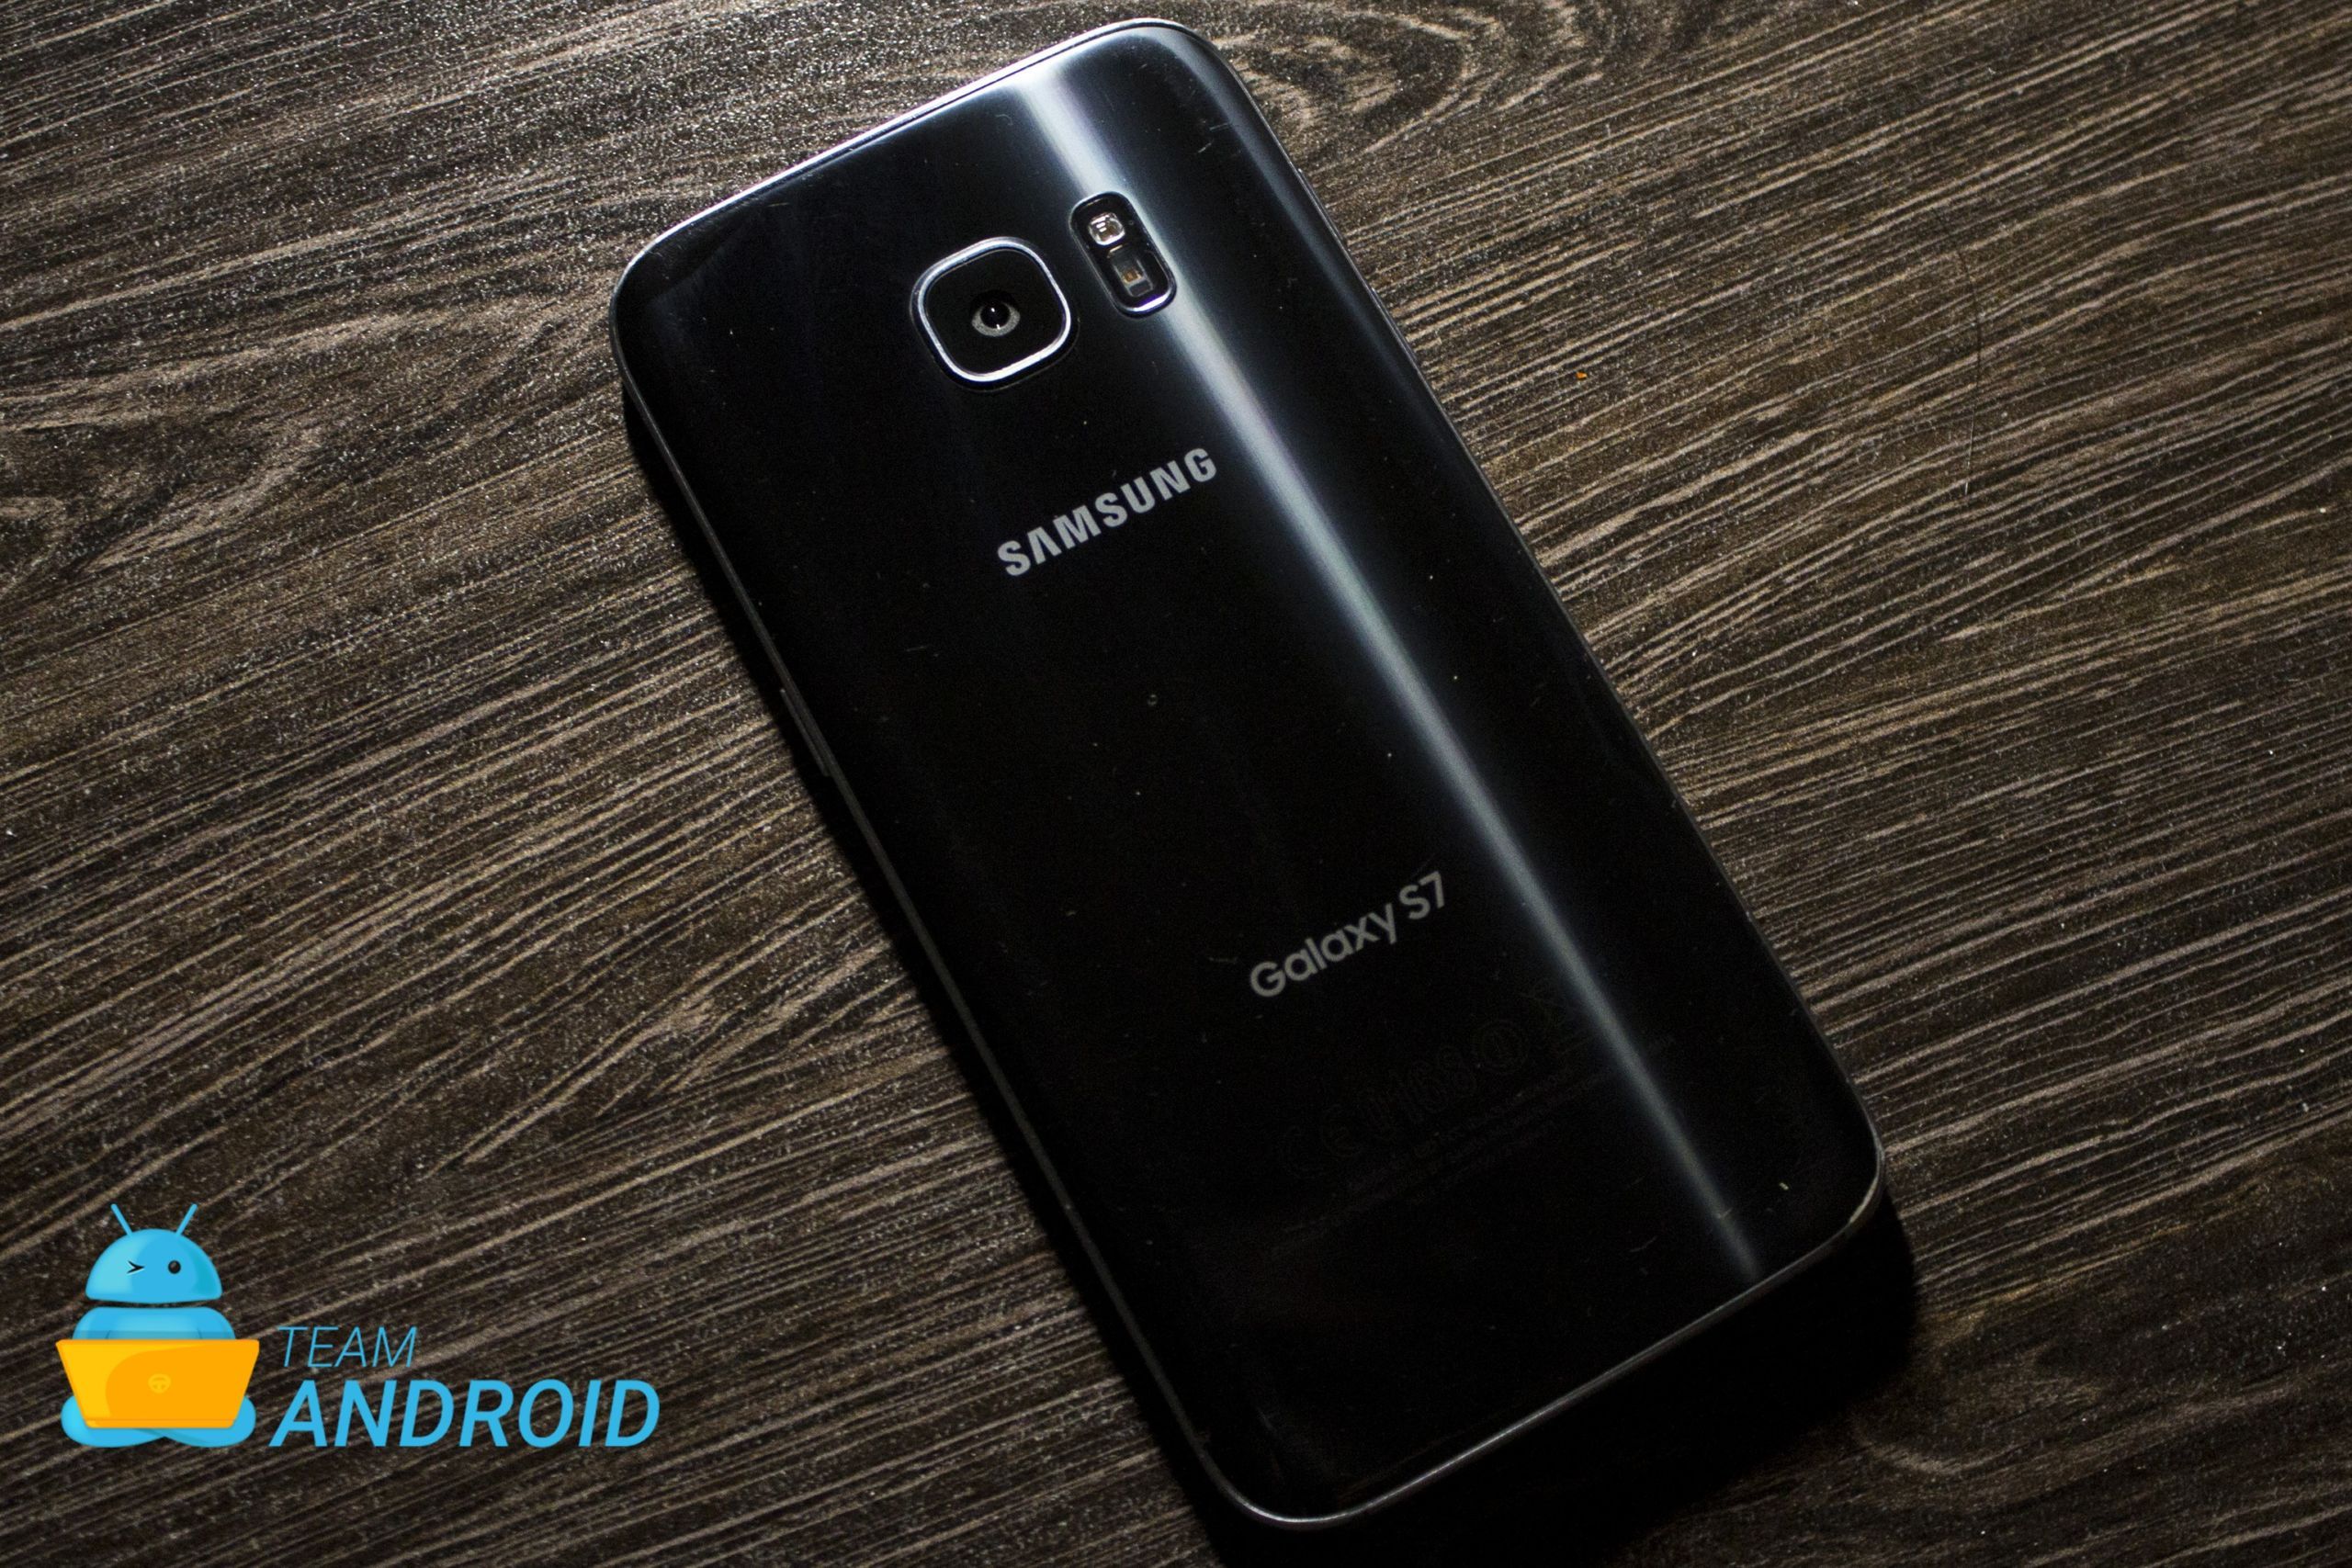
Here is how to update Samsung Galaxy S7 and Galaxy S7 Edge to Android 9.0 Pie using a custom ROM. Unfortunately, Samsung has dropped further software support for older Galaxy S7 phones. The brand will continue pushing security updates after three months but no major Android revision would be developed. However, one great aspect of owning a Android, especially a Samsung flagship, is third-party development. Thanks to developers, there is a stable Android Pie firmware available which you can directly install on your Galaxy S7 / Galaxy S7 Edge. For complete steps, you can read ahead.
Custom ROMs, especially for older phones, are truly a breath of fresh air. Once official software support ends, these help owners run their phones for a year or two longer without having to compromise on apps or the experience. Coming to the ROM we will be installing, it is called LightROM. Being based directly off of Samsung Galaxy Note 7 FE official firmware — which recently received Android Pie — it also carries Samsung’s new One UI skin. This feature alone gives LightROM quite a stock Samsung feeling and makes it resemble what an official update could have been for the Galaxy S7 / Galaxy S7 Edge. Now, before we start with our installation guide, we recommend you read on how to backup all your data and maintain one before updating.
Disclaimer: All the custom ROMs and firmwares, official software updates, tools, mods or anything mentioned in the tutorial belong to their respective owners/developers. We (TeamAndroid.com) or the developers are not to be held responsible if you damage or brick your device. We don’t have you on gun point to try out this tutorial 😉
Android 9.0 Pie LightROM Details:
LightROM is derived from Android 9.0 Pie firmware that was originally released for Samsung Galaxy Note 7 FE. Developers, seeing how Galaxy Note FE runs similar hardware, were successful to not only boot the firmware but also make it reliable enough to be run as a daily.
Here are some key features which LightROM offers:
- Screen Mirroring
- SecureStorsge
- RMM Fix
- Disable OEM Unlock Toggle
- Multi User
- Extra Tweaks Enabled For All Available CSC In ROM
- Camera – Enabled Camera During Call, Camcorder DoNot Pause Music
- Dialer – Voice Call Recording, Call Spam Detection & Places
- Message – SmsMaxByte(Max Limit)
- Settings – RealTime Network Speed, SProtect|PowerPlanning|MemorySaver
- SMusic – Voice Files In Music Hidden
- SmartManager – Disabled AntiMalware
- SystemUI – Override DataIcon(LTE), Extra UI Toggles
NOTE: This LightROM custom ROM is intended for use with following phones and model numbers:
- Galaxy S7 G930F
- Galaxy S7 G930FD
- Galaxy S7 Edge G935F
- Galaxy S7 Edge G935FD
Not sure about your phone? Please follow these quick and easy steps below:
- Go to Settings on your phone
- Scroll down till you see “About device” or “About phone” and tap there
- Note down what is written under “Model number”
This would be the exact model number of your specific device.
There are tons of useful articles and how-to guides on Team Android for the Samsung Galaxy S7 and Galaxy S7 Edge, but we think you might be interested in the following posts:
- Install TWRP on Samsung Galaxy S7: How to Install TWRP Recovery on Galaxy S7 – Complete Guide.
- Install TWRP on Samsung Galaxy S7 Edge: How to Install TWRP Recovery on Galaxy S7 – Complete Guide.
- Try Android Q: How to Install Android Q on Computer.
- Custom ROMs: For a complete collection of Samsung Galaxy S7 custom ROMs, click here!
Samsung Galaxy S7 USB Drivers
You will need to connect your Android phone with the computer. For that, please make sure you have installed the USB drivers for Samsung Galaxy S7 properly. If not, you can download the latest official drivers from our Android USB Drivers section here:
Download Samsung Galaxy S7 USB drivers!
All set and ready? Good. Now, let’s proceed with the tutorial below and update Samsung Galaxy S7 G930F to 8.0 LightROM Nougat custom firmware.
NOTE: There is a helpful tips section at the bottom of this guide to help you backup your entire phone as all your data will be wiped clean during the installation of this ROM. We want to make sure your installation goes smooth and you do not end up with any problems.
Install Android 9.0 Pie LightROM on Samsung Galaxy S7 / Galaxy S7 Edge
We have put together a detailed step-by-step instructions guide on how to install Android Pie LightROM custom firmware on Samsung Galaxy S7 and Galaxy S7 Edge. If you are used to installing custom ROMs on your Galaxy S7, then this should not be any different for you.
Before proceeding, this guide assumes you have already install TWRP custom recovery on your phone. If you haven’t use these guides:
To Remember:
- This tutorial is only for installing Light ROM on Samsung Galaxy S7 and Galaxy S7 Edge with following model numbers.
- Galaxy S7 G930F
- Galaxy S7 G930FD
- Galaxy S7 Edge G935F
- Galaxy S7 Edge G935FD
- Your phone should have a custom recovery installed in order to install this LightROM on your phone.
- This tutorial will wipe out all your data. Make sure you backup all your data in your phone before proceeding.
Complete Step-By-Step Instructions:
Step 1 – Download 8.0 LightROM and AddOn ZIP File for your phone to your computer. You can also download straight to your device. If you do that, skip straight to Step 4.
Step 2 – Connect and mount your Galaxy S7 / S7 Edge USB memory to your computer using the USB cable.
Step 3 – Now copy/paste the downloaded ROM zip and AddOns zip files to your phone memory / SD card. Make sure the file is in the phone memory / SD card root (not in any folder).
Step 4 – Then turn OFF your phone and disconnect from the USB cable.
Step 5 – Now to get in the Recovery Mode. Switch ON the phone while pressing and holding Volume Up + Home + Power buttons together. Alternatively, read this: How to Enter Recovery Mode on Samsung Galaxy S7.
NOTE: Screenshots of the Team Win Recovery Project (TWRP Recovery) may change as new versions are released.
Step 6 – Once you are in TWRP Recovery, perform a full data wipe by tapping on the ‘Format‘ button. Select Dalvik, Cache, System from available partitions and then swipe to confirm.
Step 7 – Now go back to the main menu and then tap on the ‘Install’ button. From the list, choose the ROM ZIP file that you copied to your phone memory in Step 3.
Step 8 – Confirm installation on the next screen by swiping on the “Swipe to Confirm Flash” option. The installation procedure should start now as show below.
Step 9 – Once the installation is completed, you will be shown a similar screen like the following:
AddOns: Repeat the above steps from Step 7 to Step 9 for the AddOns zip file which includes Google Apps.
Step 10 – You can now reboot your phone by selecting the “Reboot System” button.
Your Samsung Galaxy S7 / Galaxy S7 Edge will boot now and it might take about 5 minutes to boot on your first time after flashing a new ROM. So, please wait.
That’s it! Your Samsung Galaxy S7 should now have 8.0 LightROM Nougat custom ROM installed on your phone! Go to Settings > About phone to verify.
Backup and Other Important Tips
Please take a look at the following tips and important points you need to take care of. These are important, as we don’t want anyone losing their personal data or apps.
Always backup your important data that you might need after you install a new custom ROM, an official software update or anything else. Make a backup for just in case, you never know when anything might go wrong. Read: How to Backup Android Apps, Text Messages, WhatsApp, Call History.
Samsung users can also back up data using Samsung Smart Switch to your computer. Smart Switch helps to move data across different Android devices i.e moving Samsung Galaxy S7 Edge backup data to Samsung Galaxy A6 / A6+.
If you already have a custom recovery (ClockworkMod, TWRP etc.) installed on your phone, we strongly recommend a backup using that as it creates a complete image of your existing phone set up. [Tutorial: How to Backup Android Phone using TWRP]
A few more optional tips that you should remember:
1. Having problems connecting your Android phone to the computer? You need to enable USB debugging mode. See here: How to Enable USB Debugging — for Gingerbread, Ice Cream Sandwich, Jelly Bean, KitKat, Marshmallow, Nougat and Oreo. 2. Make sure your Android device is charged up to 80-85% battery level. This might help you: How to Check Battery Percentage. Why? Because, if your phone goes off suddenly while installing a custom ROM, flashing an official firmware update or installing mods etc. — your phone might get bricked or go dead permanently. No one wants that, right? 3. Most of the tutorials and how-to guides on Team Android are for factory unlocked Android phones and tablets. We recommend NOT to try our guides if your phone is locked to a carrier, unless we have specified the carrier name or device model.
If you run into any problems, feel free to drop us a comment below and we will reply you back ASAP with the fix or the solution to your problem.

Any possibility this could be ported to the S7 Active (G891A)? It’s an AT&T exclusive (S8 Active and above no longer are), that’s basically the same phone but with a few slight alterations – what those changes specifically are, I’m uncertain of. I’m on Android 8, but I wouldn’t mind having the option to go up to 9.